The first morning at a campground is where a lot of breakfast plans come apart. The fire is not up to cooking heat yet, the pan is either too close to the flames or too far from them, and somebody is already standing at the picnic table asking when the bacon will be ready. I cooked breakfast over a campfire for close to twenty years because that was what camping looked like in my head. It was slow, it was smoky, and about half the eggs came out with a gray ring around the yolk.
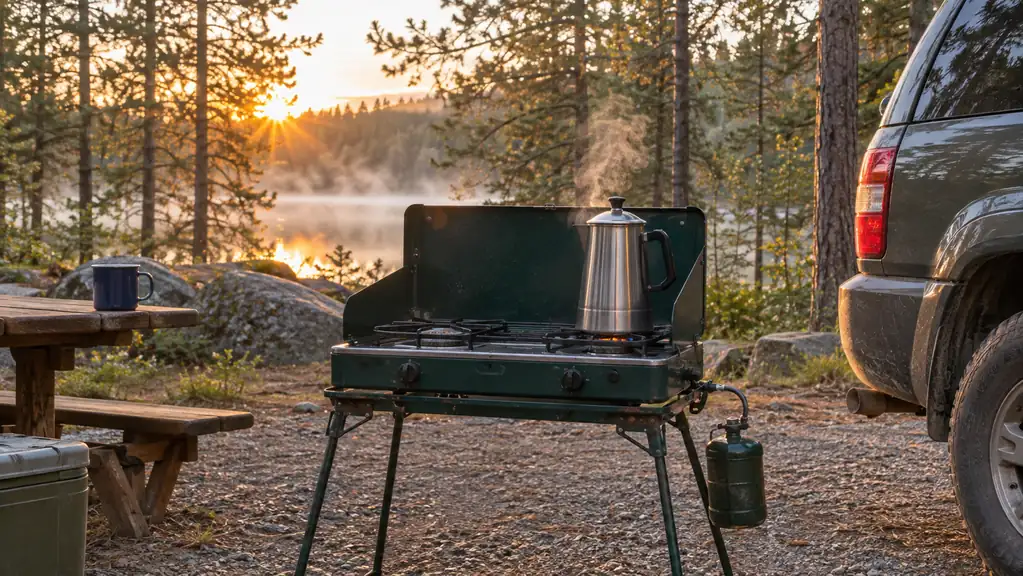
These days I cook it on a Camp Chef Explorer 2-Burner stove that stands on its own detachable legs beside the car. It runs off a standard 20-pound propane tank through the hose and regulator that come in the box. I bought mine new the first week of March and cooked breakfast on it every camping weekend from March through October, which worked out to about ten two-night trips at state park campgrounds in north Alabama. What follows is the routine I actually use, in the order I actually do it. None of it is complicated. It is just the sequence that gets a hot breakfast on the table before the coffee goes cold.
The stove that gets breakfast on the table before the coffee goes cold
Two 30,000 BTU cast-aluminum burners, detachable steel legs, a three-sided windscreen, and the three-foot hose and regulator to run it off a standard 20-pound tank. One year limited warranty. Mine has cooked every camping weekend since March.
Amazon See today's price on Amazon →Step 1: Set the Stove Up Before You Are Hungry
This sounds obvious and it is the step people skip. Setting up a stove when you are already hungry and the coffee has not started is how you end up with a wobbly stove, a crosswind, and a bad attitude before eight in the morning. I do it first, before I unload the cooler and before I open the tent. Ten minutes of setup buys me a calm half hour of cooking.
Pick a level spot. The gravel pad beside the car is usually the flattest thing at a state park site, and it keeps the stove out of the tent and off the picnic table where people want to sit. Mine measures 34 inches long, 14 inches wide and 29 inches tall once the detachable steel legs are pushed in, so it wants a real footprint. It is not a thing you balance on the corner of a table.
Push the legs in until they seat, set the stove down, put a hand on the frame and rock it. If it rocks, move it. Then clip the three-sided windscreen in place. Morning air at a campground moves more than people expect, and the windscreen is the difference between a flame that holds steady and a flame that keeps getting shoved around while you are trying to fry potatoes.
Step 2: Connect the Propane and Check the Connections
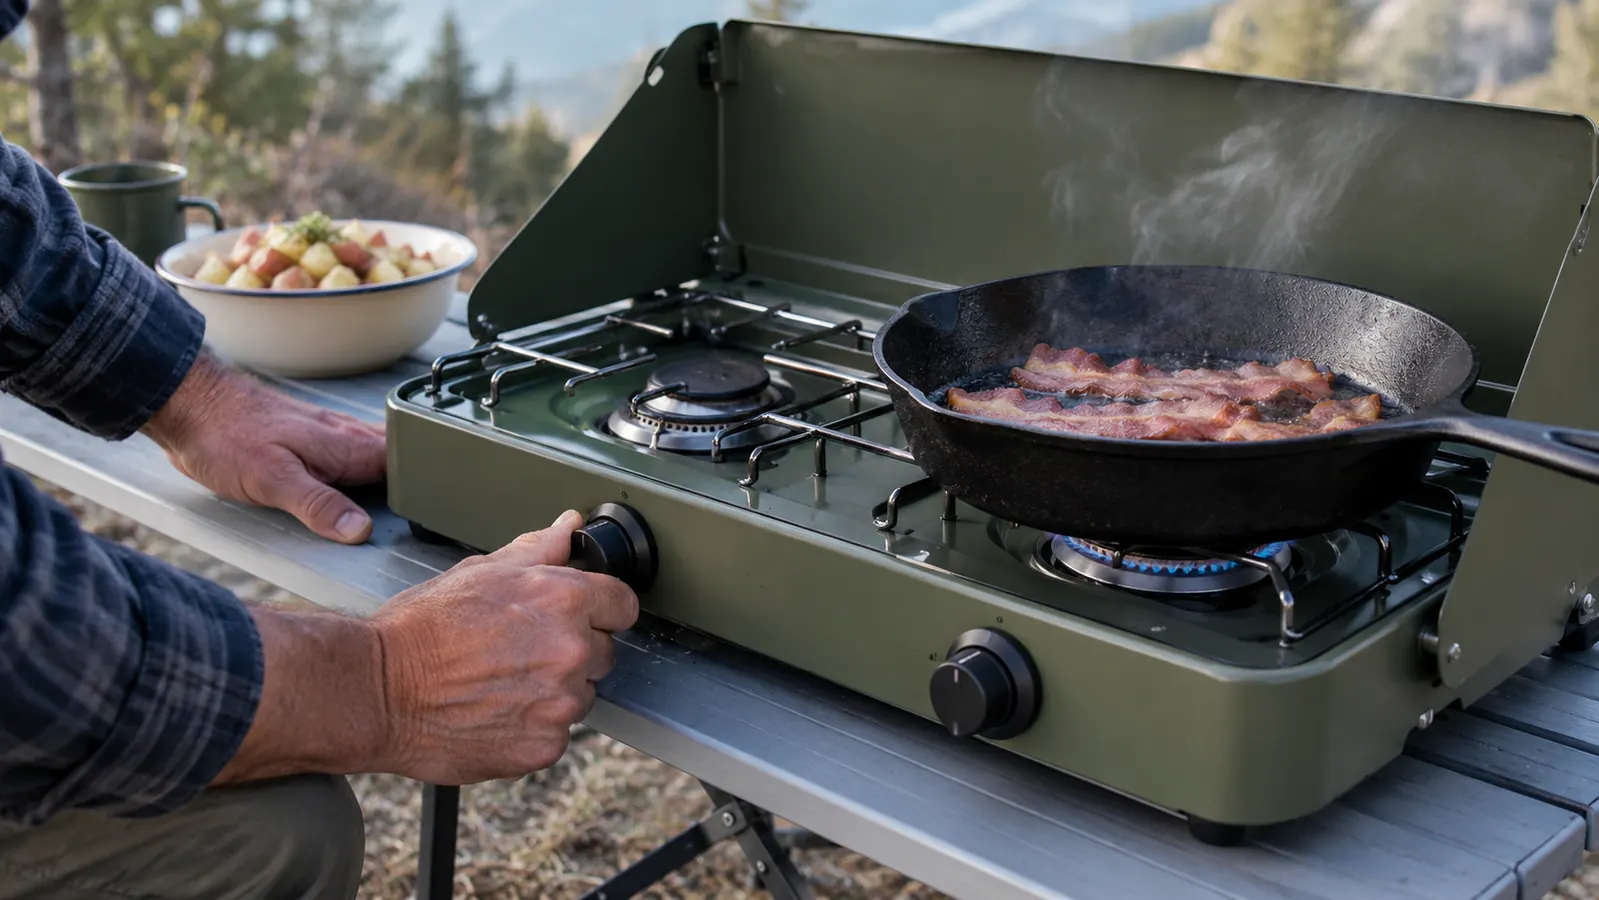
The hose and regulator come with the stove, and the hose is three feet long, enough to set the tank on the ground beside it and out of the way of your feet. Screw the regulator onto the tank valve by hand. Hand tight is plenty. I have watched people put a wrench on that fitting, and I have watched them regret it the next time they went to take it off.
Before you open the tank, make sure both appliance-style knobs are turned off. Then open the tank valve slowly, about a quarter turn. I keep a small spray bottle of soapy water in the camp box and squirt both connections, the one at the tank and the one at the stove. Bubbles mean a leak, so close it and start over. No bubbles means you can cook. That bottle costs almost nothing and it is the one check I never skip.
If the tank spent the night in the back of the car on a cold morning, give it a few minutes in the sun before you get impatient with it. I have had a half-full tank act lazy at dawn when it was nothing but temperature.
Step 3: Light the Burner and Dial In the Heat
The Explorer has two cast-aluminum burners at 30,000 BTUs each, 60,000 total, so there is more heat here than I need for eggs. That is fine, because the appliance-style knobs turn down. I light with a long grill lighter held at the side of the burner with the knob about a quarter open, then adjust from there. On the Camp Chef the knobs are big enough to work with one hand while the other hand is holding a skillet.
Give the burner a minute before you set the pan on it. Cast aluminum comes up fast, and a cold pan slammed onto a hot burner will warp your bacon before it renders. A minute of patience saves the whole pan. I set the skillet on when I can feel real heat coming off the burner without the flame roaring.
If the flame is lifting off the burner and fluttering, either the windscreen is not squared up or the knob is too far open. Turn it down. The flame should sit on the burner and stay there. There is no prize for cooking on the biggest flame, and a low steady flame is what gives you eggs that do not come out brown on the bottom.
Step 4: Cook in an Order That Keeps Everything Hot
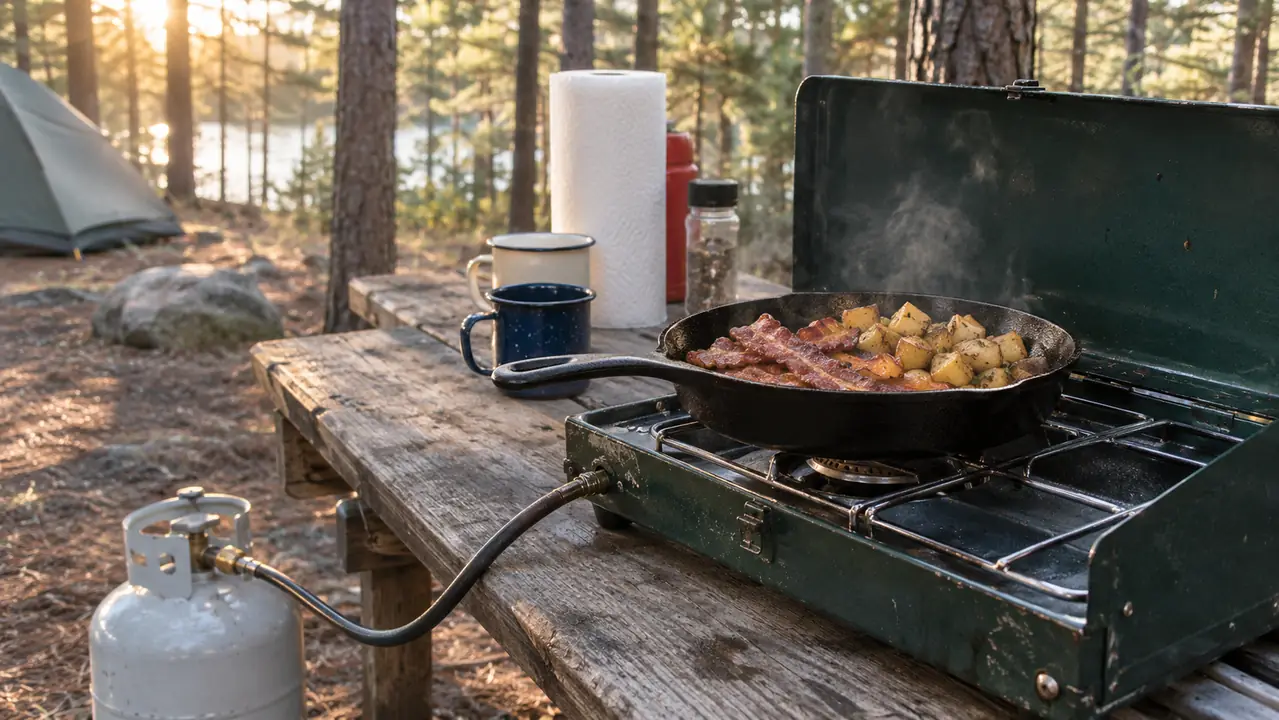
Here is where two burners earn the space they take up in the back of the CR-V. The coffee pot goes on the left burner the minute the stove is lit and it stays there. The cast iron skillet goes on the right burner and it stays there. Nothing gets moved off and back on. The coffee never has to wait for the bacon, and that alone is worth more to me at seven in the morning than any feature on the box.
Bacon first. It renders the fat I need for everything else, and it will hold on a paper towel while the rest of the meal cooks. Potatoes next, diced small, cooked in the bacon fat with the lid on to steam them through and then the lid off to crisp them. Those take the longest, closer to twenty minutes, so they go on before I even start thinking about eggs. When I want to save time I dice the potatoes at home the night before and carry them in a zip bag, which is not cheating, it is just planning.
Eggs last, and eggs are fast. By the time the potatoes are crisp and the coffee is poured, the skillet is at a steady heat and the eggs take three or four minutes. If the pan is too hot, the knob turns down. That is the whole difference between cooking on a stove and cooking on a fire. A campfire does not have a knob.
Two 30,000 BTU burners, and the coffee pot never moves off the left one. That is the entire argument for the space this thing takes up in the car.
Step 5: Shut It Down and Clean Up While the Burners Are Warm
Close the tank valve first and let the burners burn off what is left in the three-foot hose. When the flame dies on its own, turn the knobs to off. If you close the knobs first you leave gas sitting in the line, and the next time you light it you get a little pop that I do not care for. Then take the windscreen off and set it to one side.
Wipe the stove down while it is warm, not hot. A rag and a splash of water take bacon grease off in about thirty seconds when the metal is still warm. Wait until it is cold and you will be standing there scraping and muttering. I do the same thing with the skillet, wiping it out while it is warm and leaving the thin coat of fat on it.
Let the whole stove cool before you pull the legs and lay it in the car. I collapsed mine too soon once and spent the rest of the morning smelling hot metal and hoping nothing in the back had melted. Once it is cool the legs come out, the hose coils up, and it is ready to go again tomorrow in about ten minutes.
What Else Helps
The stove is the center of it, but a few small things around it make the morning smoother. My headlamp comes out before the sun is properly up, and I run it on the red mode so I am not shining a white beam at Ray while he is still in the sleeping bag. A one-gallon jug of water on the picnic table saves a walk to the bathhouse spigot, which at our usual site is about 200 yards up the gravel loop. And a shallow plastic tub under the table catches the dishes so the grease does not end up on the site.
Check on fires before you assume anything. One July weekend there was a county burn ban in effect and campfires were off. I walked up to the campground office and asked whether a propane stove was allowed, and at that campground it was. I would not take that as a rule anywhere else. If a burn ban is posted, ask at the office first. Some places allow propane stoves and some do not, and the person behind the desk knows which kind of campground you are standing in. A stove is not automatically fine just because the flames are not coming out of a fire ring.
A cast iron skillet with a lid is the other half of this routine. It holds heat through a whole batch of potatoes, it goes from the burner to the table, and it does not care that it is being used outdoors. The Explorer is compatible with most 14-inch Camp Chef accessories, so if you already own a griddle from that line it will fit, but a skillet does everything I need it to do.
Breakfast at a campsite is not a cooking competition. It is coffee, bacon, potatoes and eggs eaten at a picnic table while the fog burns off the ridge and the campground starts to wake up. The reason I keep the Camp Chef in the car is that it makes that morning repeatable, in wind or in calm, whether the fire is going well or not going at all. After a season of weekends I still set it up the same way every time, and I still get breakfast on the table before the second cup of coffee.
Set it up once and the morning takes care of itself
Two burners, 60,000 BTUs total, appliance-style knobs you can turn down, and a three-sided windscreen for the morning breeze. That is the whole routine in one piece of gear.
Amazon Check the Camp Chef Explorer on Amazon →