
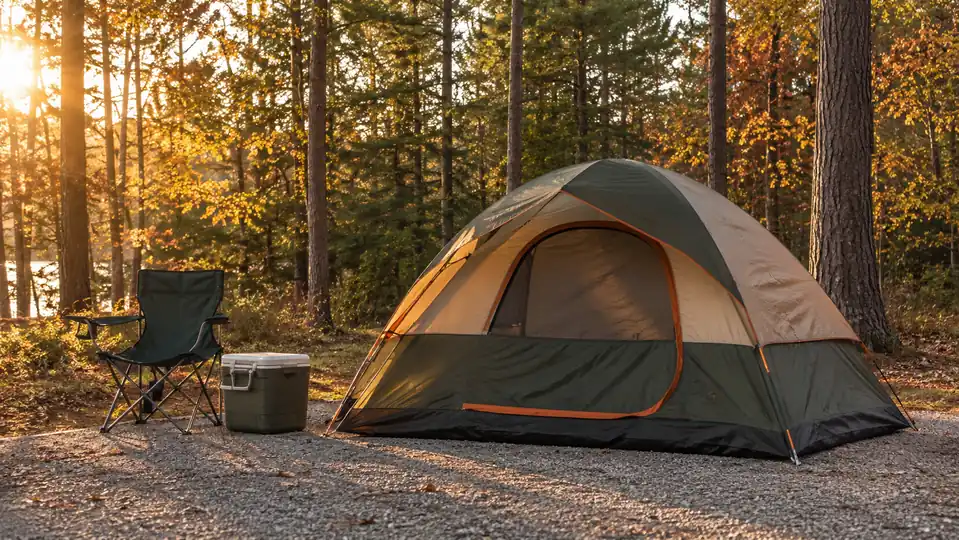
The deal Ray and I made is simple. He unloads the car, I put up the tent. So for about ten weekends a season I am standing on a gravel pad at a north Alabama state park campground, alone, with a ten-pound bag of nylon at my feet and a picnic table I have already decided not to move. The first time I did it, in our backyard in March, it took me about thirty minutes and I said a few things I would not repeat in front of the campground host. The tenth time took fifteen. The tent is the four-person Coleman Sundome, and the difference was not practice so much as doing five things in the right order.
Here is what I got wrong at the start: I treated solo setup as a strength problem. It is not. Ten pounds is not heavy, and nothing about this tent needs two sets of hands. What goes wrong when you are alone is order. You stake something too early. You drag the fabric over a root. You get the rainfly on and then notice the door is facing the weather. Fix the sequence and the tent does most of the work by itself.
The tent that turns a two-person argument into a fifteen-minute solo job
The Coleman Sundome in the four-person size has 63 square feet of floor, sets up free standing, and threads its poles through sleeves rather than clips, which is the detail that makes one-person setup possible. It is the tent I pitch alone every weekend from March to October.
Amazon Check Today's Price on Amazon →Step 1: Pick the pad and walk it before you unzip anything
Stand where the tent is going and look at the ground. You want level, and you want the high spot on the pad rather than the low one. A tent floor laid in a shallow dip will find every bit of rain that falls that weekend. Then walk the whole footprint with your shoes on, dragging your feet. You will find roots and buried gravel that your eyes did not, and a root under your lower back at two in the morning is the difference between a good weekend and a long one.
Here is how I learned to look. The second site we took that March looked level from the road and was not. Two inches of the pad sat lower than the rest, and the giveaway was the gravel itself, darker and packed finer where water had been sitting and drying out all spring. I moved the Coleman six feet toward the high side before I unrolled anything, and I have looked for that darker gravel first ever since. It costs nothing to check, it takes about as long as reading the site number, and on a wet weekend it is the difference between a dry floor and a floor you mop with a towel at seven in the morning.
Think about the door before you think about anything else. On our usual site the walk to the bathhouse is about 200 yards along the gravel loop road, so I want the door pointed at that road, not at the back of the pad. I also want it turned away from the direction the weather usually comes from in that county, which for us is west. This takes ten seconds and saves you a wet zipper and a wet walk.
Look up. Dead limbs in a hardwood canopy are not a hypothetical, and a setup that takes fifteen minutes is not worth doing under a hanging branch. If the site has one, ask the office for another site. Nobody at a state park campground has ever argued with me about that.
Step 2: Lay the body out flat and decide about stakes
Pull the tent out of the carry bag and unroll it. Find the door first, then lay the floor flat across the pad in the orientation you settled on in Step 1. Do not pull it taut yet. You are just getting 63 square feet of floor fabric sitting square on the ground so the poles have somewhere honest to go.
One thing about that bag. Everything comes out of it at once, because everything lives in it: the tent body, the rainfly, and the bag itself. If you pull the tent body out and drop the fly on the ground to deal with later, the fly will be damp and gritty by the time you want it, and grit against coated fabric is how you get a slow leak you cannot find. I empty the whole bag onto the camp chair, or onto the picnic table if the table is dry, and I tuck the empty bag under my arm so a gust does not send it across the loop road. Chasing an empty tent bag is a fifteen-minute job that turns into a forty-minute job.
Here is why a free-standing tent is the right choice for setting up alone. The Sundome holds its own shape once the poles are in. It does not need sixteen stakes driven before it will stand up and let you walk around it. That means you can lay it out, frame it, and lift it by yourself, then stake it at the end when you can see whether it is sitting square.
The exception is wind. On a breezy afternoon I stake the two corners facing into the wind before I touch a pole, because a loose tent becomes a sail and a sail beats you. Otherwise I stake nothing until Step 5. Angle the stakes away from the tent, drive them with the heel of a boot or a rock, and do not overthink it. They hold line, not weight.
Step 3: Assemble the poles and feed them through the sleeves
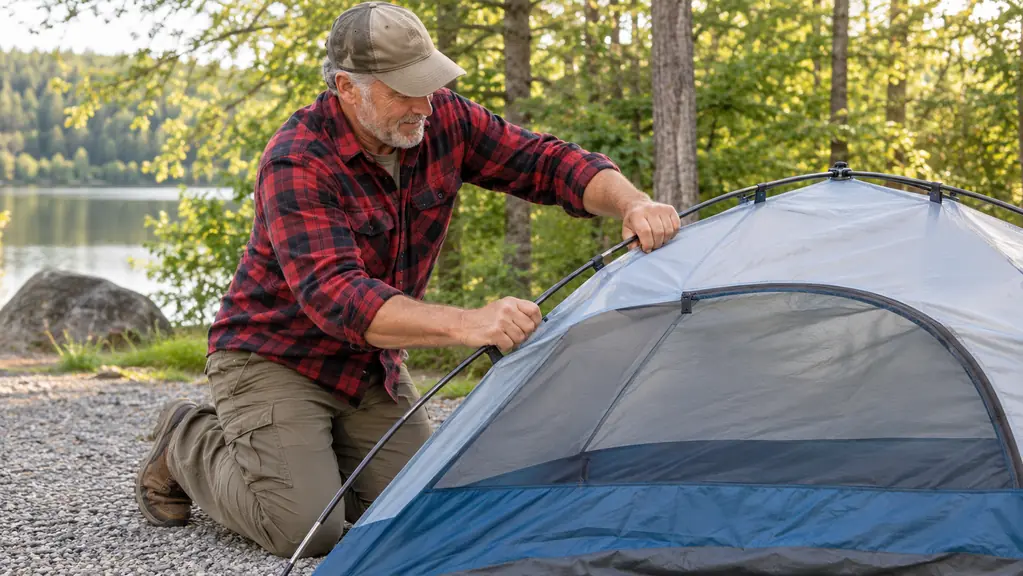
The Sundome attaches its poles with sleeves, not clips. Clips are faster with two people. Sleeves are steadier with one, because the fabric cannot pop off a clip while you are at the other end of the tent. The trade is that you have to feed, and feeding alone has one rule: push, do not pull. Pulling bunches the sleeve fabric and jams the pole.
Shake each pole section until the shock cord seats it into the next one, and keep the ends away from your face while you do it. A pole that snaps open at eye level is the only genuinely unpleasant moment in this whole process. Then start at one end of a sleeve, feed the pole tip in, and walk it along with both hands, one pushing and one guiding the fabric over the joint.
Watch the seams. Where two pieces of sleeve fabric are joined there is a slight step, and a pole tip catches on that step every single time if you are pushing fast. Slow down at the seam, work the tip past it through the fabric with your fingertips, then push again. On my first attempt I leaned into one and the tip caught, the section came apart, and the shock cord snapped the whole thing back at my knuckles. Nothing broke and nothing was ruined. But I feel for the seam now before I put any weight behind the pole, and it has not happened since.
Keep the tent body loose while you feed. If the floor is stretched tight and staked hard, the sleeves tighten up and the pole fights you the whole way. This is the single reason my first backyard attempt took thirty minutes. I had staked everything down first, like I was setting up a tent for a photograph, and then spent twenty minutes losing an argument with a fiberglass pole.
Step 4: Stand it up, one end at a time
Once both poles are through their sleeves and crossed, the tent wants to stand. It will not do it while you are trying to lift both ends at once. Lift one end, seat the pole ends at that pair of corners, and let the fabric take the shape. Then go around and do the other end. Two trips around the tent, and it is up.
Two trips is the whole trick, and the middle of it looks alarming. Between the first end and the second, the tent is standing but sagging badly, half-collapsed toward the corner you have not done yet, and it looks like you have made a mistake. You have not. That sag disappears on its own the moment the second pair of pole ends is seated. Do not try to fix it by hauling on the fabric, because all you will do is pull the first end back out of its corner and start over. I have watched people at neighboring sites spend ten minutes wrestling a tent that was one corner away from standing up by itself.
If a pole end pops out while you are working the other side, do not fight it standing up. Lay that end back down, reseat it, and lift again. Fighting a half-raised tent is how poles get bent and how people get frustrated enough to go sleep in the car. It is a five-second reset, not a failure.
Now walk the outside once and look at the floor. It should be flat and square inside the frame, not puckered up at one corner. If it is puckered, one pole is not fully seated in its sleeve. It takes less time to fix now than to sleep on a ridge for two nights.
Step 5: Rainfly first, then the rest of the stakes, then move in
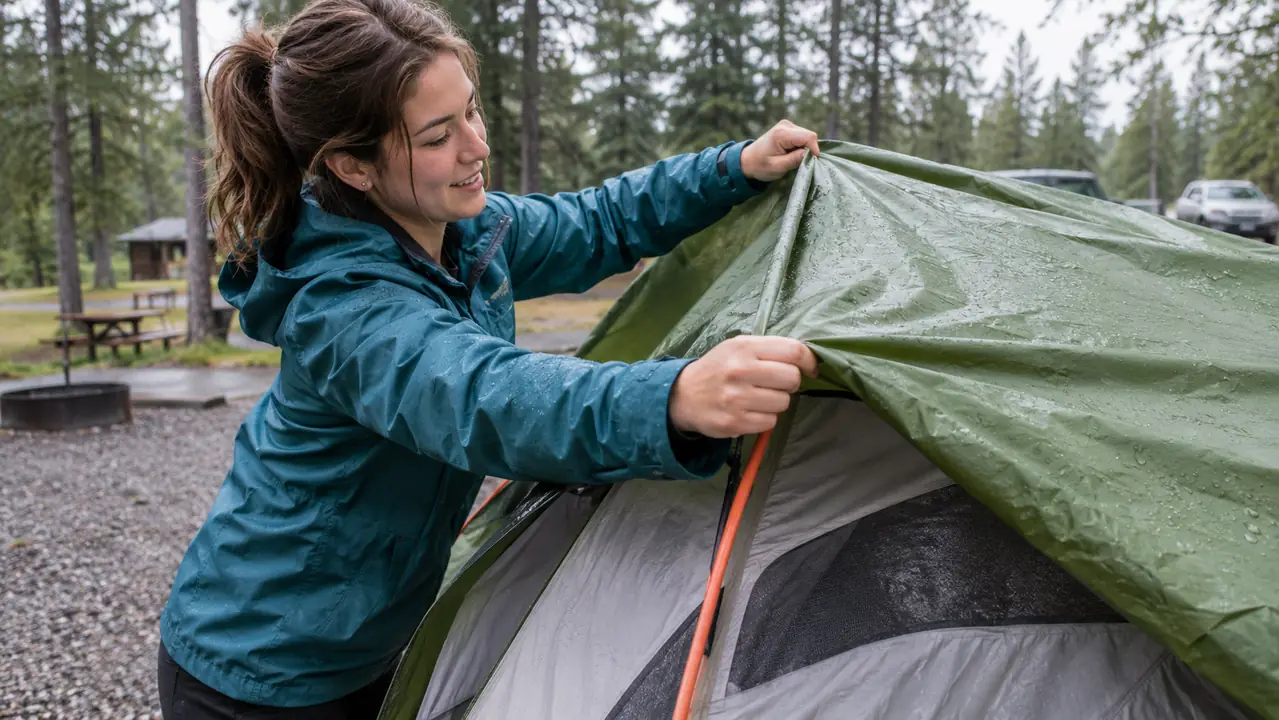
The carry bag holds the tent, the rainfly, and nothing else, so the rainfly comes out at the same time as everything else. Put it on before you carry a single bag inside. Drape it over the top and work the edges down the sides. The Sundome has two windows and the fly sits over both of them, which is the point, so get it centered before you tension anything.
Then finish staking, including the corners you skipped in Step 2, and pull the floor out square. The walls and floor carry a 1500 mm water resistance rating, and in May we had a hard rain that went all night with the fly on, and we stayed dry. I do not promise that for every storm. I do promise that a fly left in the bag is not doing anything for you.
Only then do you move in. My sleeping pad goes down first, then our bags, then the duffels pushed into the corners. Two people and their gear in 63 square feet is comfortable if the bags live in the corners and miserable if they live in the middle. That is the last decision of setup, and it is the one you will be living with until morning.
What Else Helps
Get there with daylight. Every step above is harder at dusk, and the corner stakes are the first thing to disappear. I aim to be on the pad by four in the afternoon, and in October I aim for three-thirty, because the light goes early and the gravel pad goes from gray to black in about twenty minutes. We rolled in at five-forty once, in September, with the sun already behind the ridge. It got done. It also took twenty-five minutes instead of fifteen, and I staked the front corner a foot inside where it belonged and did not notice until Sunday morning when I tripped over the slack. If we are running late I set up first and eat second, because cooking has a lantern answer and staking a tent does not.
A headlamp beats a flashlight for this, and it beats one badly. My Black Diamond Spot 400 keeps both hands free for pole sleeves, and the red mode means I can finish up after Ray is already in the bag without lighting up the whole inside of the tent. I do not hike at night. The headlamp exists for setup, for the bathhouse walk, and for cooking after dark.
Practice once at home first. My March backyard pitch took thirty minutes and taught me the staking order mistake, which is a much cheaper lesson on grass than on a gravel pad in front of the campground host. The second thing that helped was a camp chair to set the tent bag on, so it stays off wet ground while I work. That is not a gear recommendation so much as a dry-tent recommendation.
The first pitch in the backyard took me thirty minutes. The tenth took fifteen, and the only thing that changed was the order I did it in.
Fifteen minutes, one person, no argument with the fabric
Free standing, pole sleeves instead of clips, 63 square feet of floor, and a rainfly that goes on before the bags come in. That is the whole reason I can pitch this Coleman alone while Ray handles the cooler.
Amazon Check Today's Price on Amazon →