
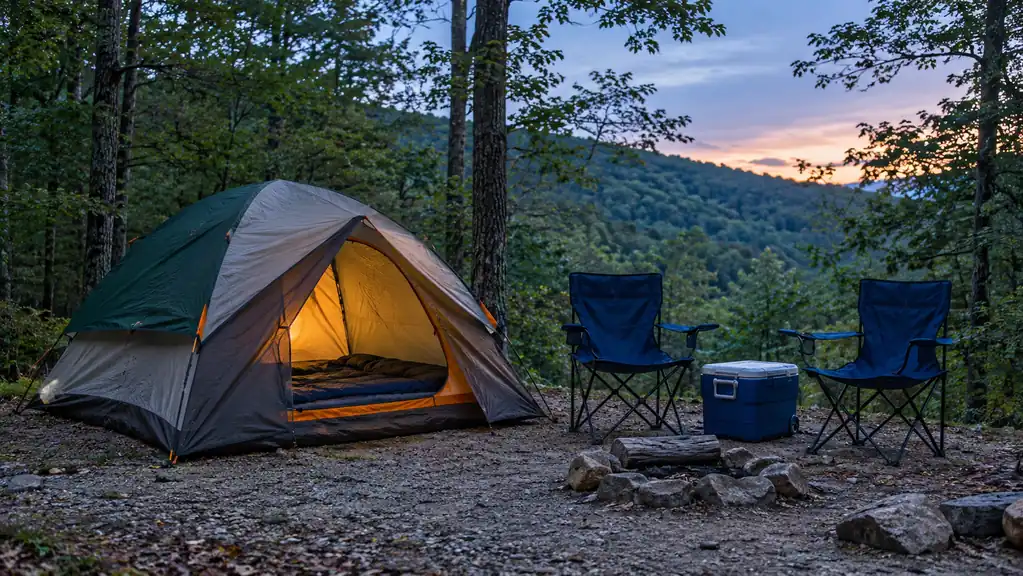
I have camped these southern Appalachian foothills for about twenty-five years, and this past March I made the same mistake I made in my thirties. I crawled into a good sleeping bag, inside a tent with the rainfly on, and woke at four in the morning with a cold hip and a locked-up lower back. The bag was fine. The ground had been pulling heat out of me since midnight, and I had given it nothing to work against.
Here is the short version before the steps. Cold comes up, not down. Your sleeping bag insulates the top of you, and underneath you it is crushed flat against the floor, which is exactly where it stops doing much of anything. What you put between your body and the dirt matters more than the bag does. I fixed mine in the first week of March with a Therm-a-Rest Z Lite Sol on the floor of our Coleman Sundome, and I have slept on it on every camping weekend since, about ten of them from March through October. What follows is what I actually do, in the order I do it.
The layer under your bag is doing more work than the bag
The Therm-a-Rest Z Lite Sol is a closed-cell foam pad: 72 inches long, 20 wide, 0.75 inch thick, 14 ounces, folding to 20 by 5 by 5.5 inches. Reflective ThermaCapture coating and heat-trapping dimples. Nothing to inflate, nothing to leak.
Amazon Check Today's Price on Amazon →Step 1: Choose ground that steals the least heat
The cheapest warm night you will ever get is the one where you pitch in the right spot. Cold air settles. It pools in the low corner of a site, in the dip behind a log, at the bottom of a slope where water would run in a storm. If the site you were given has a low corner, do not put the tent there, even when it is the flattest and smoothest patch on the loop.
What you want is ground that sits a little high, drains, and has something on top of it. Pine straw, leaf litter, a mat of dead grass. That duff is dead air space, and dead air is insulation. Bare rock and hard-packed gravel are the other end of the scale. They hold the cold and hand it straight up to you. Most of the state park sites we use are gravel, so I get the tent as far onto the packed dirt shoulder as I can without going off the pad.
One more thing about placement, and it sounds small until you have tried it. Look at where the morning sun will come up and point the door that way. At six in the morning, when the light hits the tent and the inside warms up before you have to get out of the bag, it stops feeling small.
If you are not sure about a patch of ground, put your bare palm flat on it for a full minute. Cold and hard through your hand means cold and hard through your back at two in the morning. It takes a minute and it has saved me more than once.
Step 2: Put a closed-cell foam pad down before anything else touches the floor
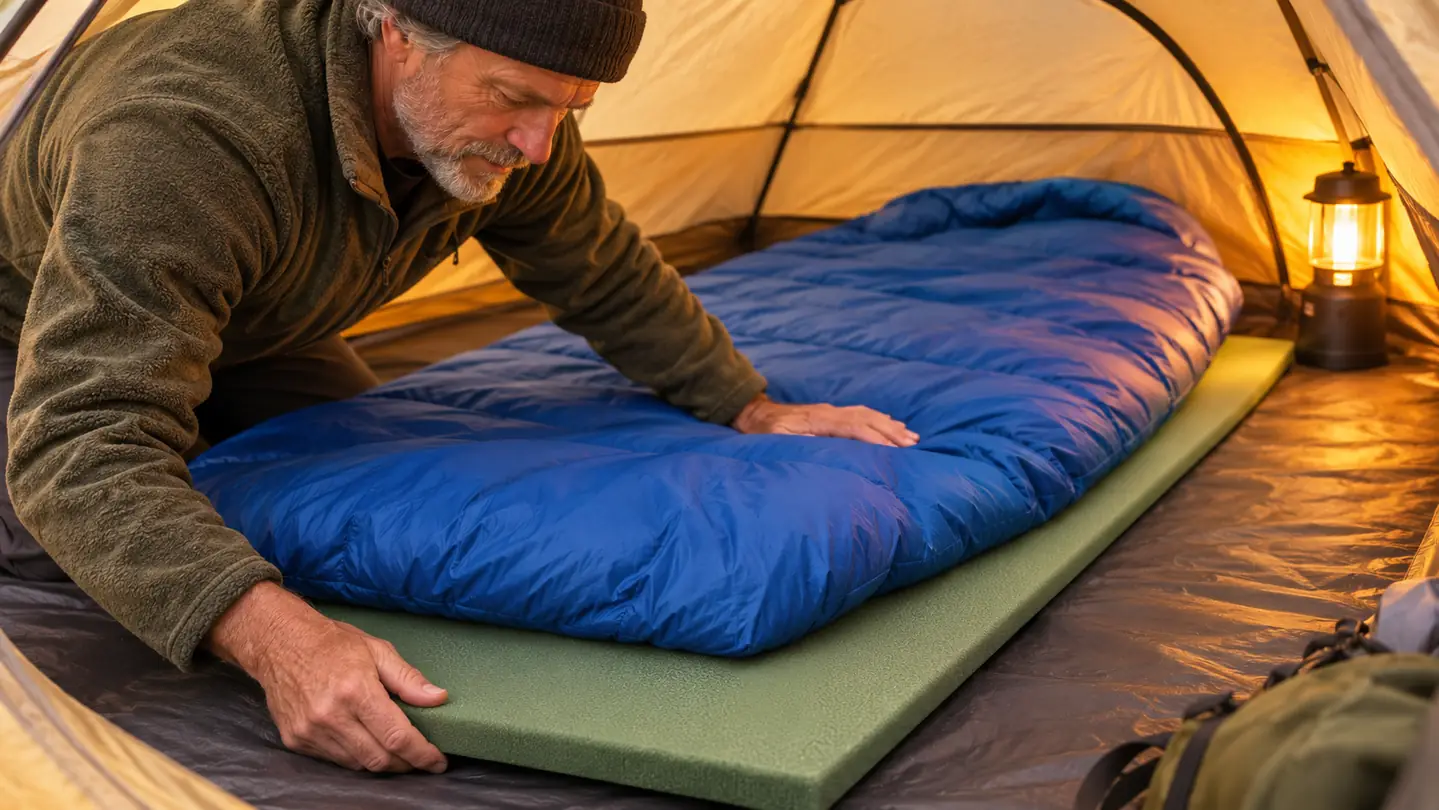
Now the layer itself. A closed-cell foam pad does not inflate, does not have a valve, and cannot spring a leak at two in the morning. You unfold it on the tent floor and that is the entire job. I unroll mine before I unroll the bag, every night, because the pad goes down first and everything else goes on top of it.
The listing gives the Therm-a-Rest Z Lite Sol as 72 inches long, 20 inches wide and 0.75 inch thick, folding to 20 by 5 by 5.5 inches and weighing 14 ounces. It is made in the United States, it is water resistant, and it carries a limited warranty. The closed-cell foam has a reflective ThermaCapture coating and heat-trapping dimples, and Therm-a-Rest says that combination increases warmth by 20 percent. I cannot measure a percentage inside my tent. What I can tell you is the difference between lying on the tent floor and lying on this.
I came to it the way a lot of people do. My old pad was a generic air mattress that kept going flat overnight, and I retired it in February. There is nothing wrong with an air mattress that holds air. Mine did not. So the appeal here is not that foam is fancy. It is that foam has nothing inside it to fail. That is the whole argument, and for a woman who would like to sleep through the night, it is a good one.
One practical note. The pad is 20 inches wide, which is narrower than the air mattresses I was used to. If you are a flopper in your sleep, you will learn where the edge is. I did, and it took about two nights.
Step 3: Fit the pad to your body, not the other way around
I am going to be straight with you, because a review that is not straight is worthless. This pad is firm and it is thin. Three quarters of an inch of foam is not a mattress and it does not pretend to be one. If you sleep on your side and you are built the way I am at fifty-seven, you will feel your hip and your shoulder the first night out.
Two things help. I put my folded fleece under my hip, just there and not under my whole body, because that is the spot that complains. And I let the sleeping bag do the soft work on top instead of trying to make the pad do it. I also keep the pad inside the footprint of the floor and away from the tent walls, since the wall is where the condensation collects.
What it did for my mornings: within the first two weekends I was waking up less stiff than I had been on the air mattress. That is a comfort report from one woman who is not a doctor, and I am not dressing it up as anything else. Ray still sleeps on his own generic pad and likes it fine. If you already sleep well on what you have, you do not need me to sell you anything.
One thing I would do differently if I were starting over. Sleep on it one night in the living room before you take it out. The pad is firm, and you will know by morning whether your hip agrees with it. Better to find that out on carpet than at eleven at night in the rain.
Three quarters of an inch of closed-cell foam, 14 ounces, and nothing inside it that can leak. That is why I trust it.
Step 4: Feed the heat you are already making
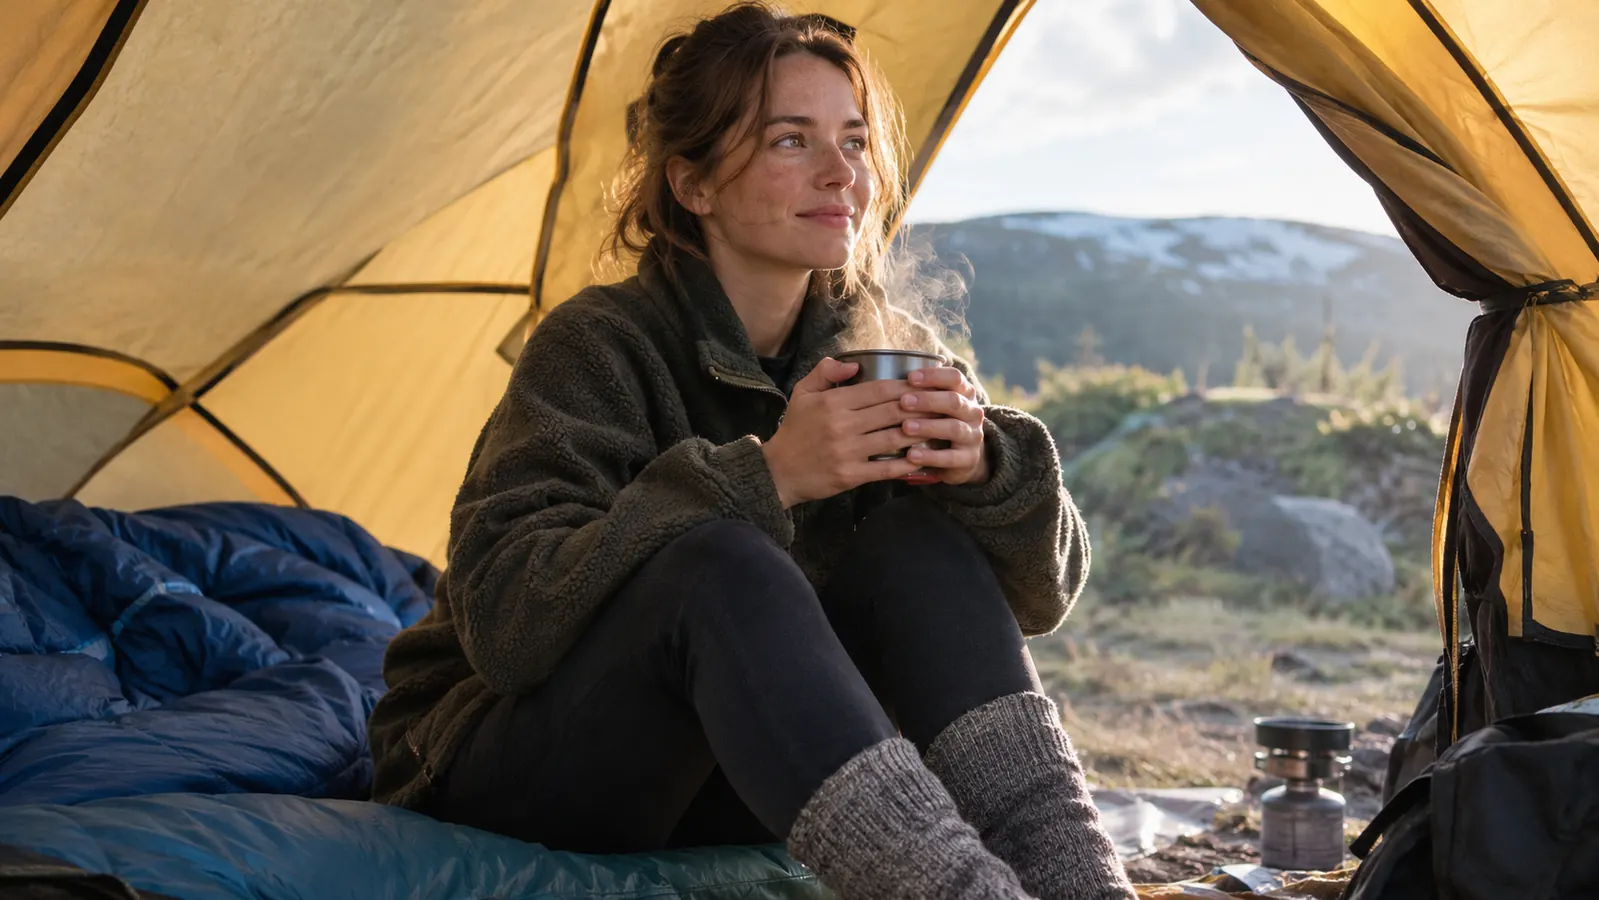
A pad slows heat loss. It does not make heat. You are the furnace, and a furnace needs fuel and dry clothing. Before bed I change out of everything I wore during the day, even when it feels dry, because it is not. Base layer, wool socks, a hat. Cotton next to your skin on a cold night is a mistake that gets worse the longer you sleep on it.
Then I eat something warm. Our stove is a Camp Chef Explorer two-burner, standing on its own legs beside the CR-V, running off a standard 20 pound propane tank through the hose and regulator that came with it. Coffee on one burner, the cast iron skillet on the other, bacon and eggs and pan-fried potatoes on a good morning. On a cold night I want a hot supper rather than a sandwich. I also fill a metal bottle with hot water, pull a wool sock over it and tuck it in at my feet. It is still faintly warm at dawn.
One caution, because I would rather say it than leave it out. I cook outdoors, always, never inside the tent and never in a closed shelter. During a county burn ban one July weekend the campfires were off, so I walked up to the campground office and asked before I lit anything. They allowed the propane stove. That is not a promise that yours will. Ask first, every time.
Step 5: Vent the tent enough that you stay dry
This is the part people skip, and it undoes all the rest. You can have the right pad and still sleep cold, because you are sleeping in a wet tent. A person puts out close to a pint of moisture breathing overnight, and it has to go somewhere. In a sealed tent it goes into your bag, your pad and your clothes.
So crack a vent, or leave the door partway open on the side away from the wind, even when it is cold out. It feels wrong the first time. It works. The rainfly goes on when there is weather coming, and on those nights you open the vents as far as the rain will let you. One weekend in May it rained hard all night and we stayed dry with the fly on. That is the only real rain I have put that tent through, and I am not going to tell you it is rated for more.
Wet gear stays out of the sleeping area. My pack bladder gets rinsed and hung after every hike, and in camp it hangs on a loop, not beside my bag. A wet rainfly folded into the corner of the tent is a cold night waiting to happen.
What Else Helps
A few small things that add up. Go to bed warm rather than cold, which for me means a short walk around the loop after supper instead of sitting still until I am stiff. Keep a dry hat within reach. Put the next day's clothes in the bottom of the bag so they are not icy when you pull them on. And get the bathhouse trip sorted before you are half asleep. The walk from our usual site to the bathhouse is about 200 yards up a gravel loop, so I wear a Black Diamond Spot 400 and switch it to the red mode on the way back so I do not wake Ray coming through the door.
What does not help, in my experience: a second bag liner when the ground is the problem, a fire that is out by eleven, and a thicker air mattress that leaks. The layer between you and the dirt is the one doing the work. If you want the longer notes on how the foam has held up over a season, there is a full write-up on the site. If you are weighing it against an inflatable, the comparison with the Trail Scout is the one to read. And if you are still not sure foam is for you at all, there is a plain argument for it in the piece on why a foam pad beats an air mattress.
There is no single item on that list that fixes a cold night on its own. A pad without dry clothes is a hard, cold night. Dry clothes without a pad is a warm top and a frozen back. Do all five and the ground stops being the thing that wakes you up. That has been my experience across about ten weekends this season, and it is the whole of what I know.
Start with the ground. Everything after that gets easier.
I sleep on this pad every camping weekend, on the floor of a Coleman Sundome. If cold mornings are what you are trying to fix, this is the layer I would change first.
Amazon See the Z Lite Sol on Amazon →